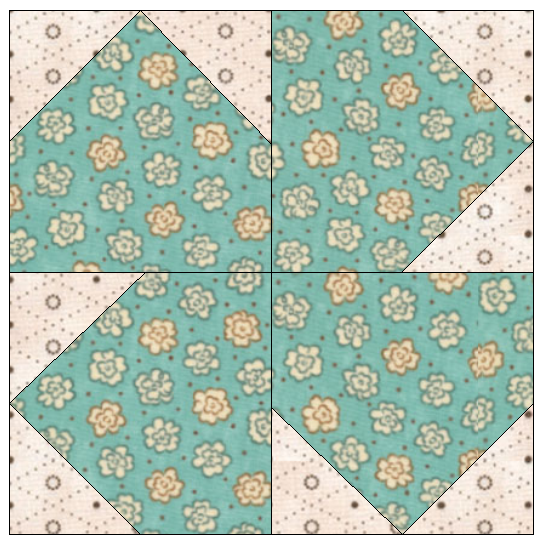
Sweet Blossom Spin Placemat Free Pattern
- Kanitta

- May 13, 2025
- 2 min read
Updated: Jun 12, 2025
Finished Size: 17.5" x 12"
Block Style: Pieced & Appliqué
Skill Level: Confident Beginner


✿ Materials Needed:
Flower Petals (pinwheel): 2 colors (8 petals each), cut into 3.5" squares
Background (for pinwheel blocks): Cut 2" squares
Appliqué Centers: Four 1.25" circles
First Border: Cut (2) 1.5" x 12.5" strips
Second Border (scrappy): Scraps cut to 1.5" x 2.5" join to form 2.5"x 12" lengths
Backing and medium-weight interfacing or batting: 18" x 12.5"
🌸 Make 4 Sweet Blossom Blocks (6.5" unfinished, 6" finished):
Stitch & Flip Petals:
Draw a diagonal line on 2" background squares.
Place one on a corner of each 3.5" petal square (right sides together).
Stitch on the line, trim 1/4" away, and press open.
Repeat for the second corner to create a triangle point effect.
Make 8 petal units in each color.

Assemble Flower Block:
Arrange 4 petals of the same color to form a spinning flower shape.
Join them in two rows of two. Sew rows together.
Press seams in the opposite direction
Appliqué the Center:
Machine or hand-appliqué a 1.25" circle to the center of each block.

🧵 Assemble the Placemat:
Layout Blocks:
Arrange the four blocks (2x2 layout) to alternate colors diagonally.
Join blocks in rows, then sew the rows together (you now have a 12.5" x 12.5" panel).
First Border
Add side borders (1.5" x 12.5")
Scrappy Second Border :
Piece scraps together to make:
(2) 2.5" x 12.5" strips
Attach the second side borders
✂️ Finish:
Place the top on a medium-weight interfacing/batting, fuse or quilt as desired.
Place the backing right side down. Sew along the edge with 1/4" seam allowance, leave a 2" gap for turning
Turn it inside out, and sew to close the gap.
Give it a good press and topstitch close to the edge.


Comments