DIY Tablet Sleeve with Scrap Fabrics
- Kanitta

- Feb 14, 2025
- 2 min read
Here are step-by-step instructions for making a DIY tablet sleeve using scrap fabrics, finished with a hook and button closure.

A fun and easy project using fabric scraps!
Materials Needed for DIY Tablet Sleeve:
Fabric scraps
Lining fabric
Fusible interfacing / Batting
Ribbon (for decoration, optional)
Button (handmade or store-bought)
Cord (for button loop)
Scissors or rotary cutter
Measuring tape or ruler
Step 1: Calculate Fabric Size
Use this formula to determine your fabric size based on your device’s dimensions.
Width (W):
→ Device Width + Thickness + (Seam Allowance x2)
Height (H):
→ (Device Height × 2) + Thickness + (Seam Allowance x 2)
💡 Example Calculation
For a tablet measuring 7" (W) × 10" (H) × 0.5" (Thickness):
1/4" Seam allowance
Width: 7 + 0.5 + 0.5 = 8”
Height: (10 × 2) + 0.5 + 0.5= 21”
Cut Fabric & Lining to: 8” × 21”
3/8" Seam allowance
Width: 7 + 0.5 + 0.75 = 8.25”
Height: (10 × 2) + 0.5 + 0.75= 21.25”
Cut Fabric & Lining to: 8.25” × 21.25”
Step 2: Piece the Scraps
Grab your fabric scraps and start stitching them together randomly.
Continue piecing until you achieve the desired rectangular size (based on your formula).
Press seams well for a smooth finish.

Step 3: Add Interfacing
Fuse interfacing to the back of your pieced fabric for extra structure.
Press it well.
Step 4: Decorate (Optional)

Add these beautiful cotton ribbons for decoration if desired.

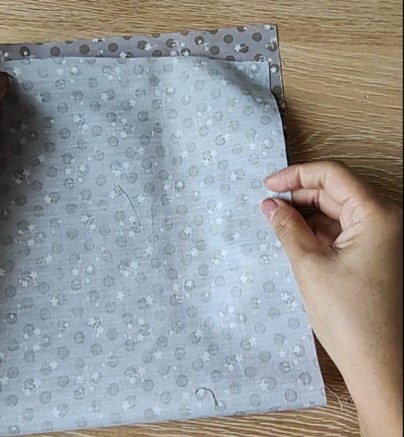
Step 5: Make the Button Closure
Create a Loop: Stitch a cord at the center top edge of the fabric. This will act as the loop for the button closure.
Make a Button: If making a handmade button, craft it now and set it aside.
Sew the button onto the front where the loop reaches comfortably.

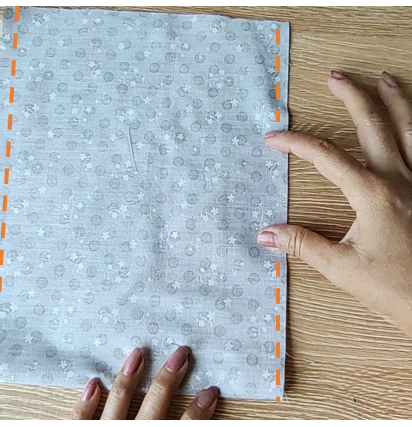
Step 6: Sew the top
Fold the top panel with the right sides together
Stitch both sides using a ¼” seam allowance

Step 7: Assemble the sleeve
Fold the lining fabric, right sides together.
Stitch both sides using a ¼” seam allowance, leaving a 2” opening for turning.
Turn the lining outside out
Slip the lining inside the top, ensuring the right sides are together.
Stitch around the top edge with a 1/4"seam, securing the loop inside.
Turn the sleeve right side out through the gap, and sew to close the gap


Final Touch:
Give it a final press, top stitch the top edge and your scrappy DIY tablet sleeve is ready!


Comments